In Uncountable, Products serve as a way to classify and connect experiments within the platform. They have two key roles:
- Experiment Categorization: Products categorize experiments based on their type (i.e. slurries, resins, or adhesives). This classification makes it easier to use these experiments in downstream processes, supporting efficient collaboration.
- Ingredient Mapping: Products also link experiments to specific ingredients, such as a commercial resin or a Bill of Materials (BOM) part number. For example, if a commercial resin is needed in a new experiment, any previous experiment assigned to that product can be selected as a lot, or batch, of that resin. This makes it easy to reuse specific ingredient lots in multiple experiments.
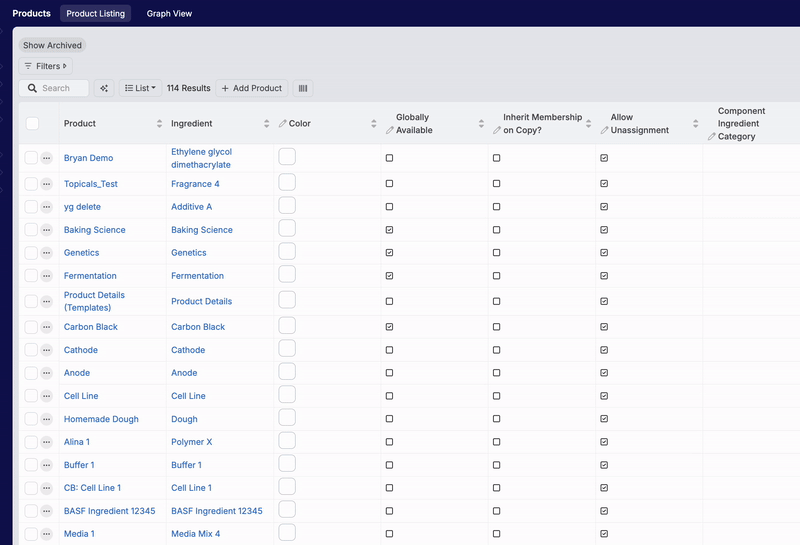
To view a listing of Products, select Inputs/Outputs from the navigation bar, then select “Products”.
How Do Products Work?
Each product is linked to a specific experiment folder. When an experiment is assigned to a product, a linked copy of that experiment is automatically added to the experiment folder associated with that product.
This setup creates a centralized repository of all experiments related to a product, regardless of the project in which they were originally created. This centralized storage supports efficient analysis, visualization, and querying, ensuring easy access to all product-related experiments for future reference.
To view all experiments associated with a product, select the product from the Product listing.
Assigning a Product
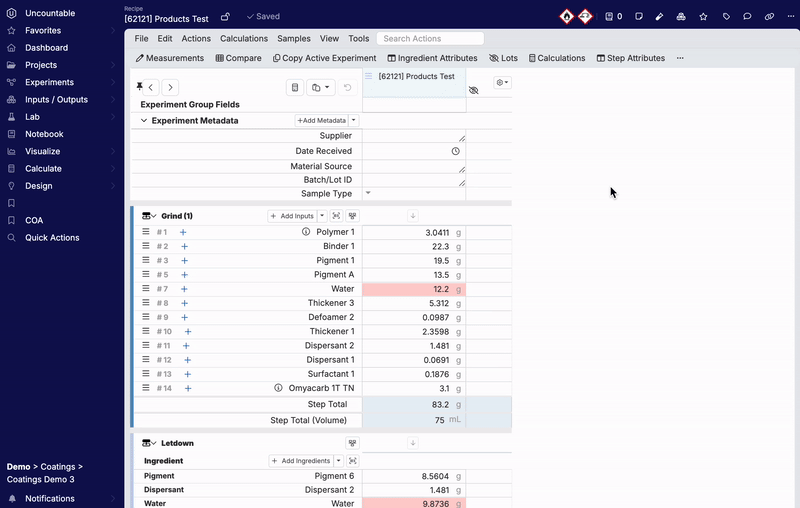
To manually assign a product from an Enter page, click the stacked cubes on the top left corner of the header. This will open a dropdown menu from which you can choose the product to associate with the experiment.
Note: While manual assignment is always an option, Uncountable recommends using advanced templating for product assignments, as described in the following sections.
Product Tags
Once a product has been assigned to an experiment, a product tag will appear below within the header next to the Experiment name on both the Enter Recipe and Enter Measurement pages. Product tags are distinguished by a “stacked cubes” icon.

From the Project Dashboard experiment list, product tags will also appear to the right of the experiment name.

Using Products for Experiment Categorization
Products may be used to categorize experiments and map experiment relationships. In the screenshot below, on the left side Binder Pre-mix experiments feed into Slurry experiments, and on the right side, Resin experiments are used as components in both Compounding experiments and Injection Molding experiments.

Creating a New Product (Experiment Categorization)
Create a Project folder for your product (”Resin”) by clicking “+ New Project”.

On the Projects page, click the Settings cog icon in the top right and select “View Products”.

Select + Add Product, select the Product folder name (”Resin”) from the “Project” dropdown menu, and select Confirm.

Select + Add Relationship to link a source product to a target product.
In the example below, Resins are used as ingredients in Compounds (another Product). This is configured by setting “Source Product” to Resins and the “Target Product” to Compounds.

After creating this relationship, you will see a visual connection depicted, allowing you to more easily use Resins in Compounds in the future.

Using Products for Ingredient Mapping
Creating a New Product (Ingredient Mapping)
Create a Project folder for your product (”Resin 1001”) by clicking “+ New Project”.

On the Projects page, click the Settings cog icon in the top right and select “View Products”.

Select + Add Product, select the Ingredient (”Resin 1001”) and Product folder name (”Resin”) from the “Project” dropdown menu, and select Confirm.

Templating Product Assignments (Ingredient Mapping)
At Uncountable, we encourage using workflow variants to templating product assignments whenever possible. This approach minimizes the steps required to establish Experiment-to-Product associations efficiently.
To create a templated Product Workflow Variant, take the following steps:
Defining a Workflow that reflects the category of the Products you’ll assign. For instance, if you’re working with commercial resins, create a “Commercial Resins Workflow”. For media production, set up a “Batch Media Workflow”.

Navigate to the Variants tab and create a workflow variant for each Product. You can either assign an existing Experiment as the template for each Variant or allow a new Experiment to be generated automatically when the Variant is created.

Ensure that each template Experiment is manually assigned to the corresponding Product. To do so, select the “Assign Product” (stacked boxes) icon from the Enter Page header and select your product from the dropdown menu. Next, verify that the Experiments include the desired standard Inputs, such as Ingredients and/or Process Parameters.

After configuring the template Experiments and associating them with the desired Products for each Workflow Variant, return to the Products Listing page and confirm that the “Inherit Membership on Copy” option is checked for each Product. This setting ensures that any Experiments created from a Workflow Variant will automatically be assigned to the corresponding Product, effectively copying from the template Recipe associated with the Variant.

Now, when a new Experiment is created from a Workflow Variant, the following will be automatic:
- Recipe details will populate based on the template Experiment.
- The Experiment will be assigned to the corresponding Product.

