As you work to define condition parameter requirements, there are scenarios where the selection or use of a condition parameter should trigger the presence of other parameters.
For instance, let’s imagine I have a set of aging parameters (time, temperature, humidity) , but not all my samples go through aging, so I may not want to see all 3 condition parameters all of the time. You want to set up the conditions such that if I select a Aging Time, the Aging Temperature and Aging Humidity show up as options for the user to fill in.
This type of behavior is handled via Condition Parameter Groups and Rules.
To access Condition Rules, first go to your Outputs Library.
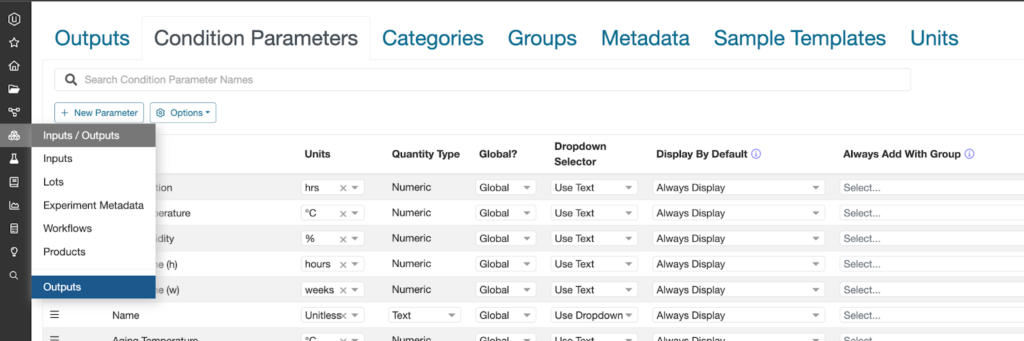
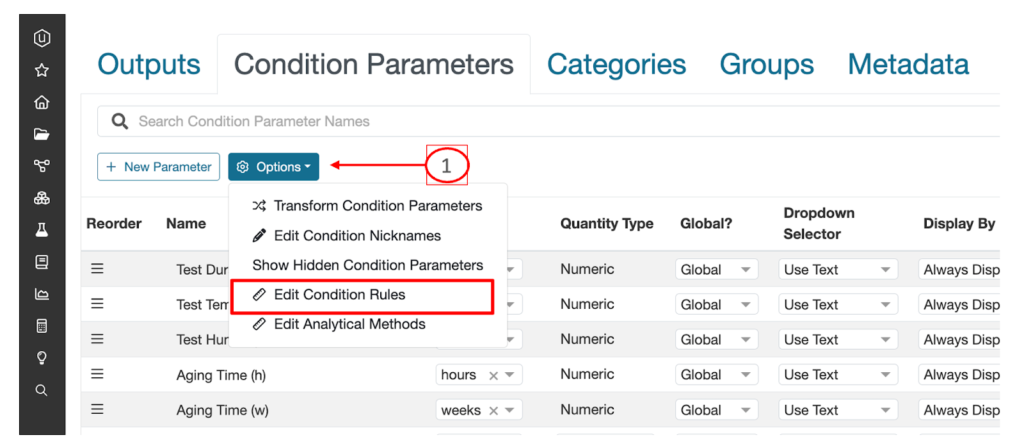
Then on the Condition Parameter table, select Options and then “Edit Condition Rules”.
To add a new Condition Rule, click on the “Add Condition Rule” button at the bottom of the table.

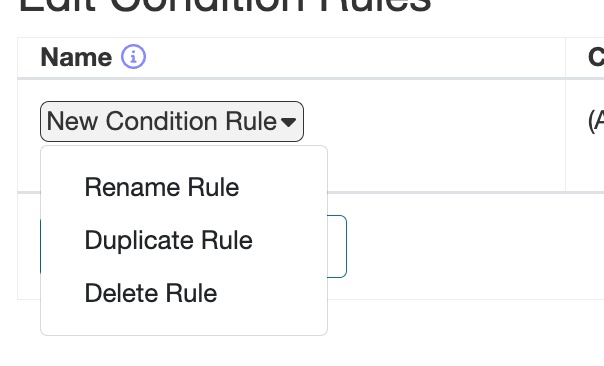
The table contains 5 different columns. The first column is the “Name”, simply click on the text that gets generated “New Condition Rule” to rename the rule. You will also be able to duplicate rules and delete rules from this dropdown option.
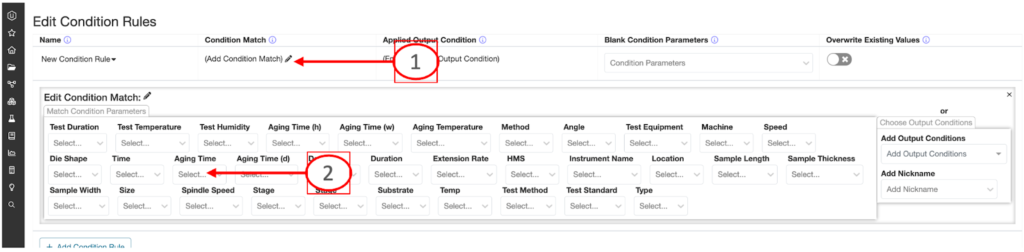
The second column is for the “Condition Match” meaning if you select the condition parameter(s) that will trigger the rule, meaning what is the “If” part of the condition rule – aka “If this condition parameter action happens, then that condition parameter action happens.
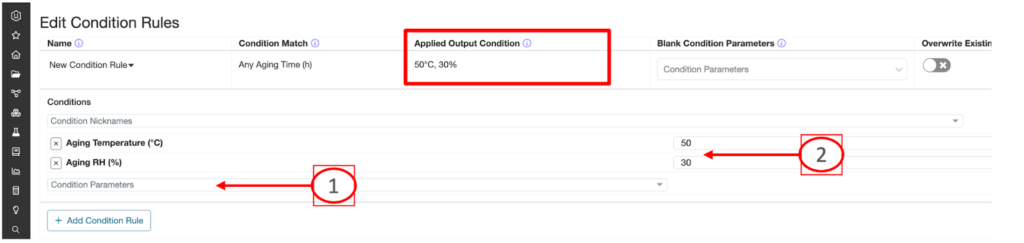
By clicking on “Add Condition Match”, object 1 below, I will pop out below the list of condition parameters in the material family. You can use “Control + F” keys on your browser to search for a condition parameter name if you have a lot of condition parameters.
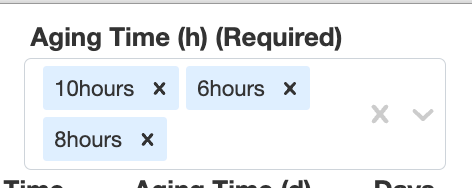
To build a condition match, you can either pick an exact value(s) of a Condition Parameter that will trigger the follow on condition or if just any condition parameter value will trigger the follow on condtions.
If I select these settings as an example, the rule will only apply if those exact conditions are met. So any other aging time will not trigger the rule.
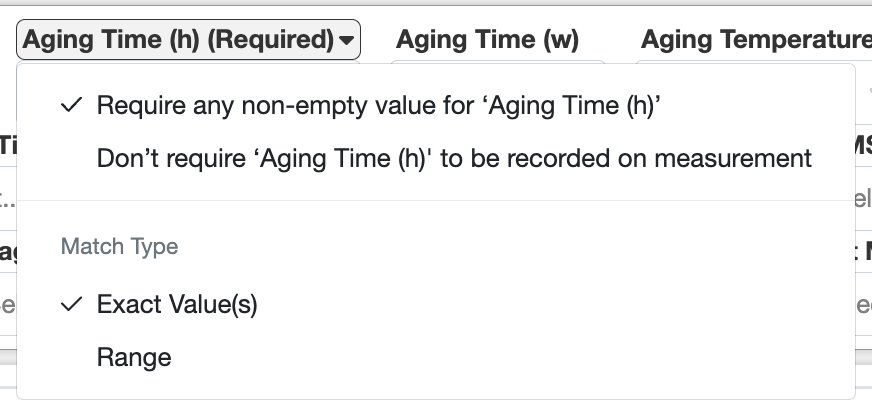
If I want any use of Aging Time to trigger the rule, then I will click on the name of the condition and select “Require any non-empty value for Aging Time”.
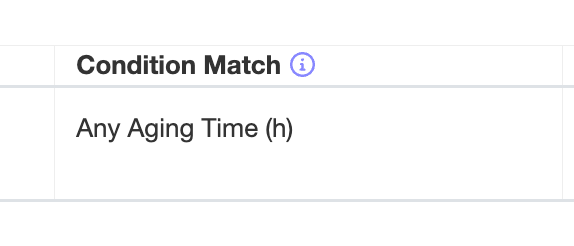
You will then see the Condition Match column reflect that choice:
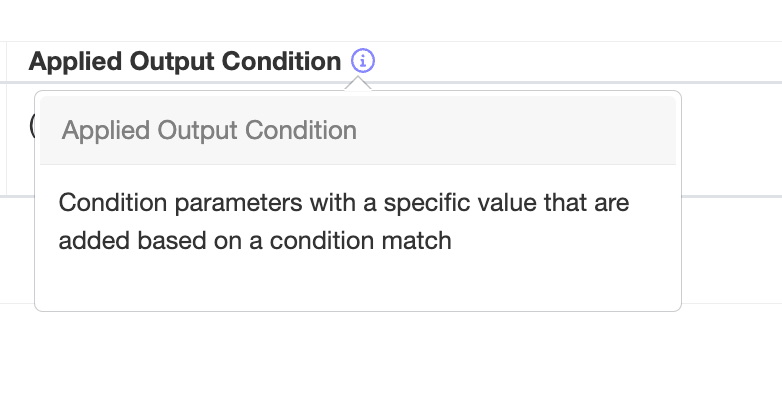
The third column is the “Applied Output Condition” option, which means when the rule is triggered, then the user wants these exact conditions and values to be added.
For instance, if I pick any Aging Time, I want Aging RH and Temperature to be 50%, and 30C to be auto-filled in, respectively.
The way this will manifest itself to the user will be as follows:
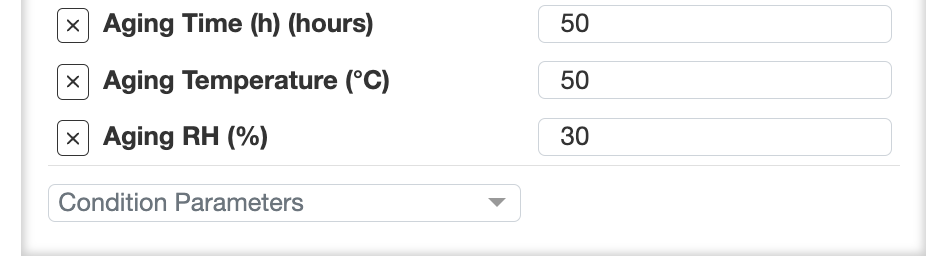
For example, maybe Aging Time will show up automatically for gloss because of a Condition Parameter setting making it required or a warning.

As soon as the user enters any value for Aging Time, the system will automatically make Aging RH and Temperature appear, and fill in values for them.
However, you may not want any exact values filled in, as in the above example, but rather just the system to prompt for other conditions.
The fourth column enables the user to establish a rule where empty condition parameters will appear once the rule is triggered.
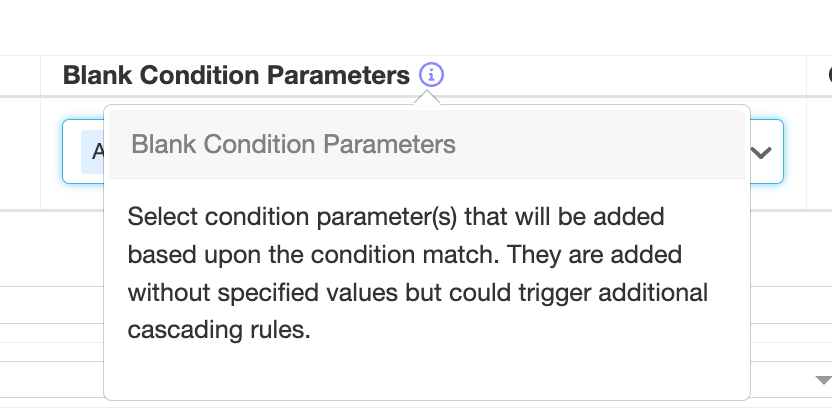
So for instance, the user can choose to have Aging RH and Temperature added as Blank Condition parameters.

The way this will manifest to the user is as follows:
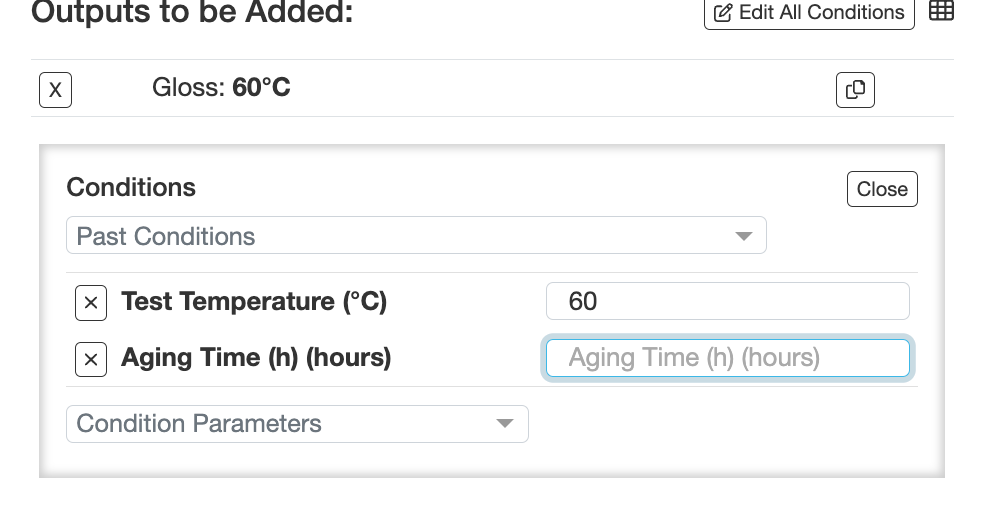
For example, maybe Aging Time will show up automatically for gloss because of a Condition Parameter setting making it required or a warning. And then, as soon as the user types any value to Aging Time, the other Aging parameters show up automatically.
