This article describes the legacy method for sending email notifications. For the updated approach, refer to Email Templates for Notifications.
Email templates can be used for a variety of cases where a notification with a specific message needs to be sent to a specific user or group of users upon an action of a lab request, approval, task, etc.. Emails can be configured and linked to a single action (i.e. email sent to requester and requestee upon submission of lab request) or following a series of actions (i.e. completion of a certain number of fields or selection of value in dropdown field triggers an email to be sent to specified user(s)).
In Uncountable, there are default emails that are automatically sent, like the email sent upon lab request submission, and these emails follow a template and are set up in a trigger that is linked to the specific request, approval, or task. There are a series of steps one must follow to configure an email and trigger – all described below.
Limitations of Text
Before starting, it is important to understand the type of content the template must contain.
Below is the dropdown list of the available options when creating a template. For emails, selecting json/vars is the typical selection that allows you to use the content provided below (to start).
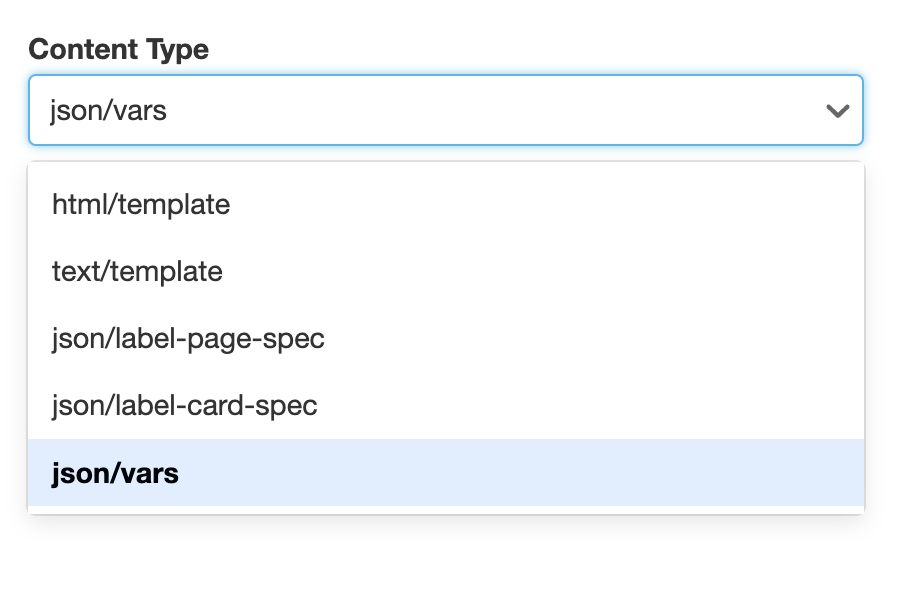
Content:
{
“footer”: “<hr><p>See <a
href=’${v:urlDetails}’>${v:fields.runNumber} ${v:fields.name}
</a></p>”,
“message”: “Test Message”,
“subject”: “Test Approval”
}
This is a very basic template that provides a link to the respective request (approval or task), along with some of its details like its run number and title of request. Additionally, it will provide a subject for the email and a message.
Creating a Template
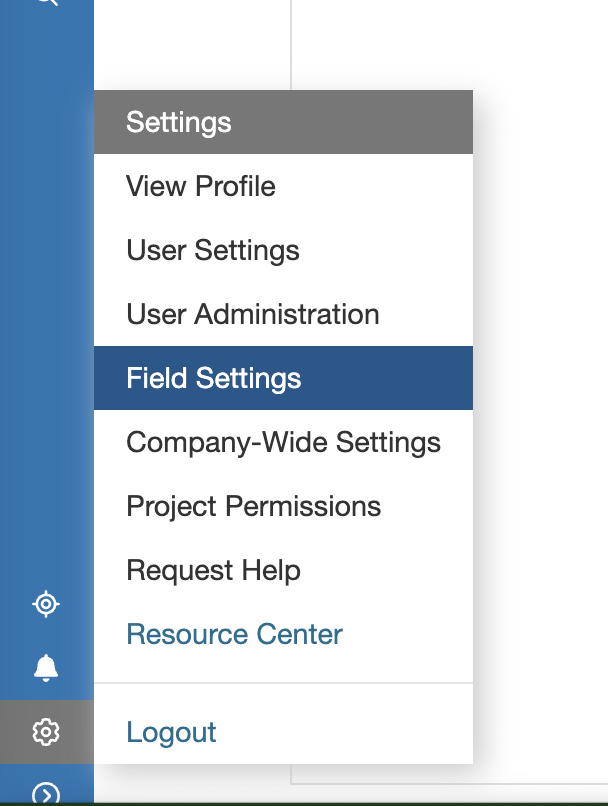
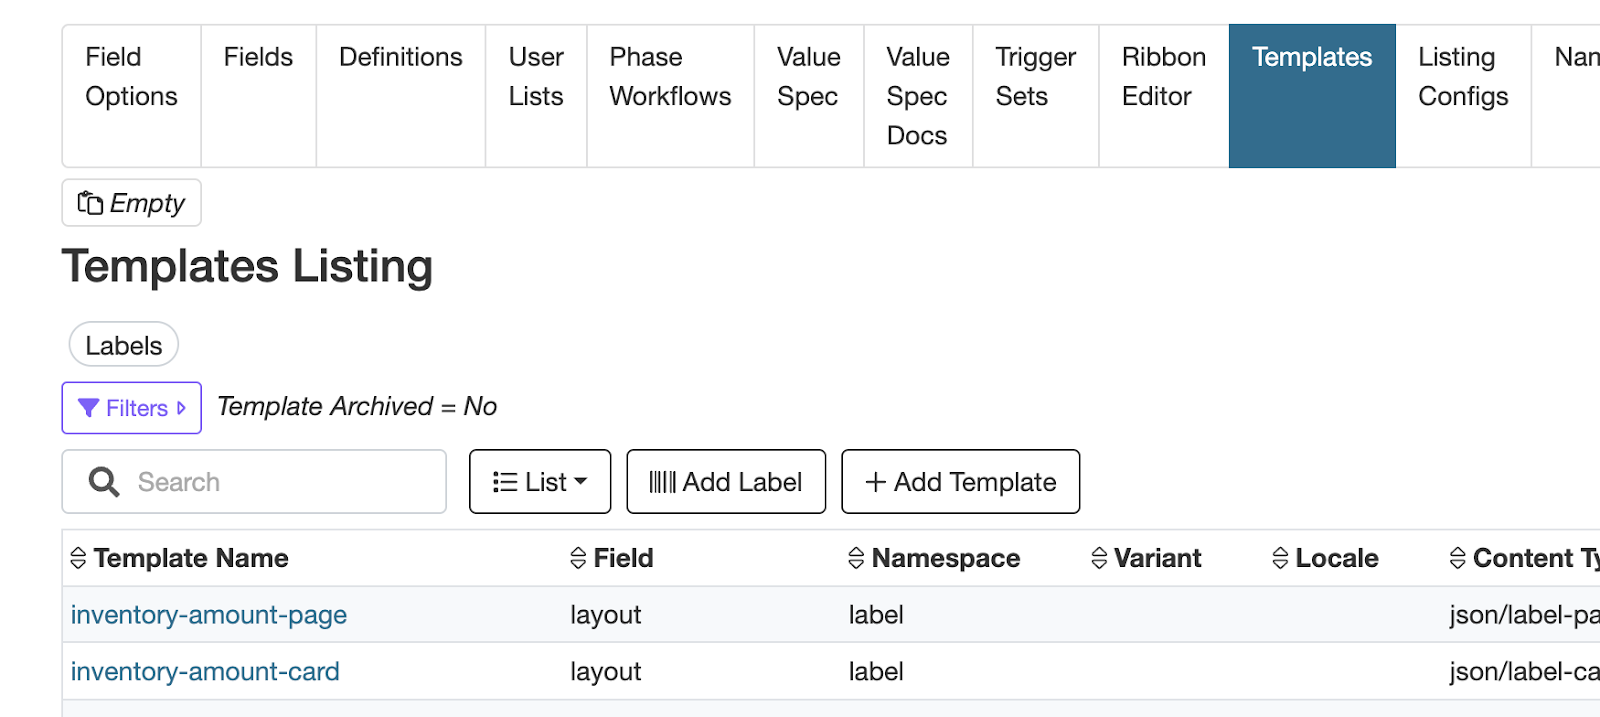
From (1) Settings go to (2) Field Settings and click on (3) Templates tab. Click (4) Add Template
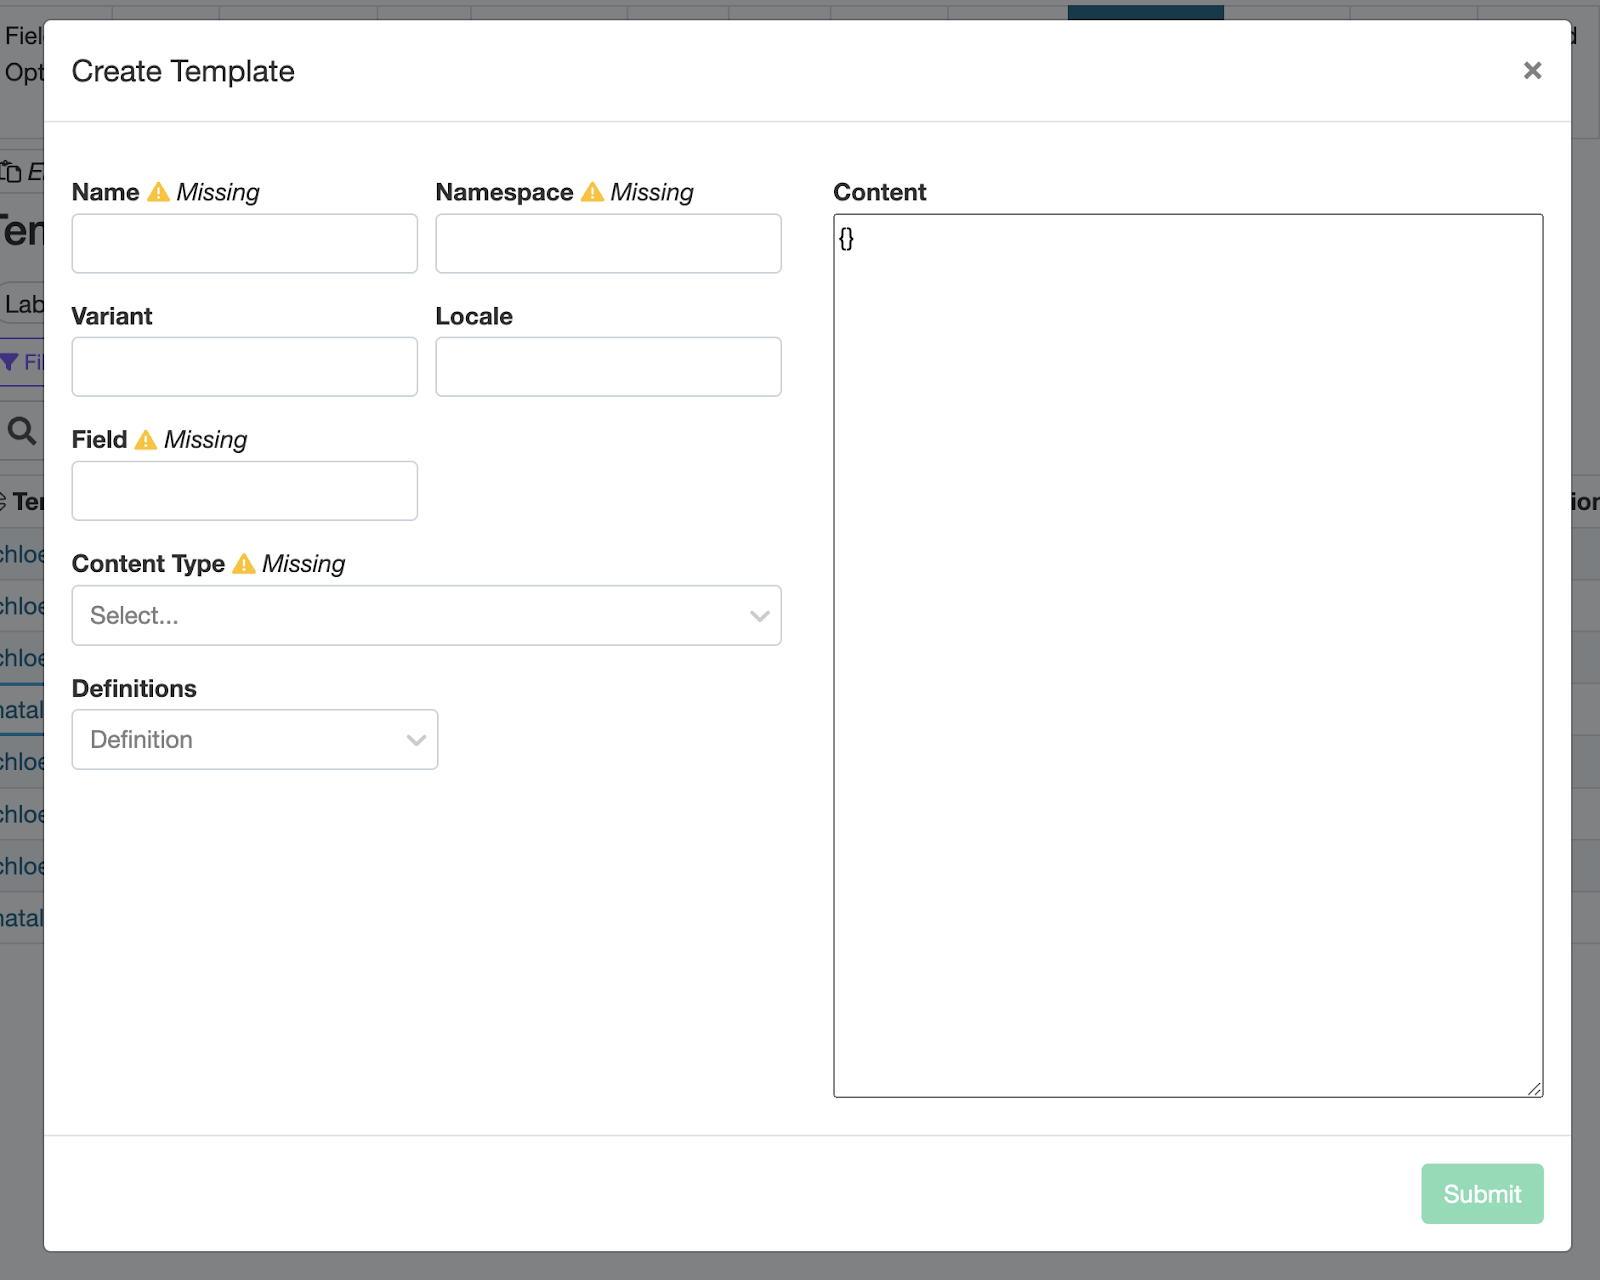
A pop-up window will appear. Name, Namespace, Field and Content Type must be filled.
Name = name of template
Namespace = “notification”
Field = “platform_notification”
Content Type = json/vars
Content box = insert statement from content in Limitations of Text section
Creating a Trigger / Notification Set Up
Now this template can be used in a trigger that can then be linked to a request, approval, or task.
Creating a Trigger Set
From (1) Settings go to (2) Field Settings and click on (3) Trigger Sets
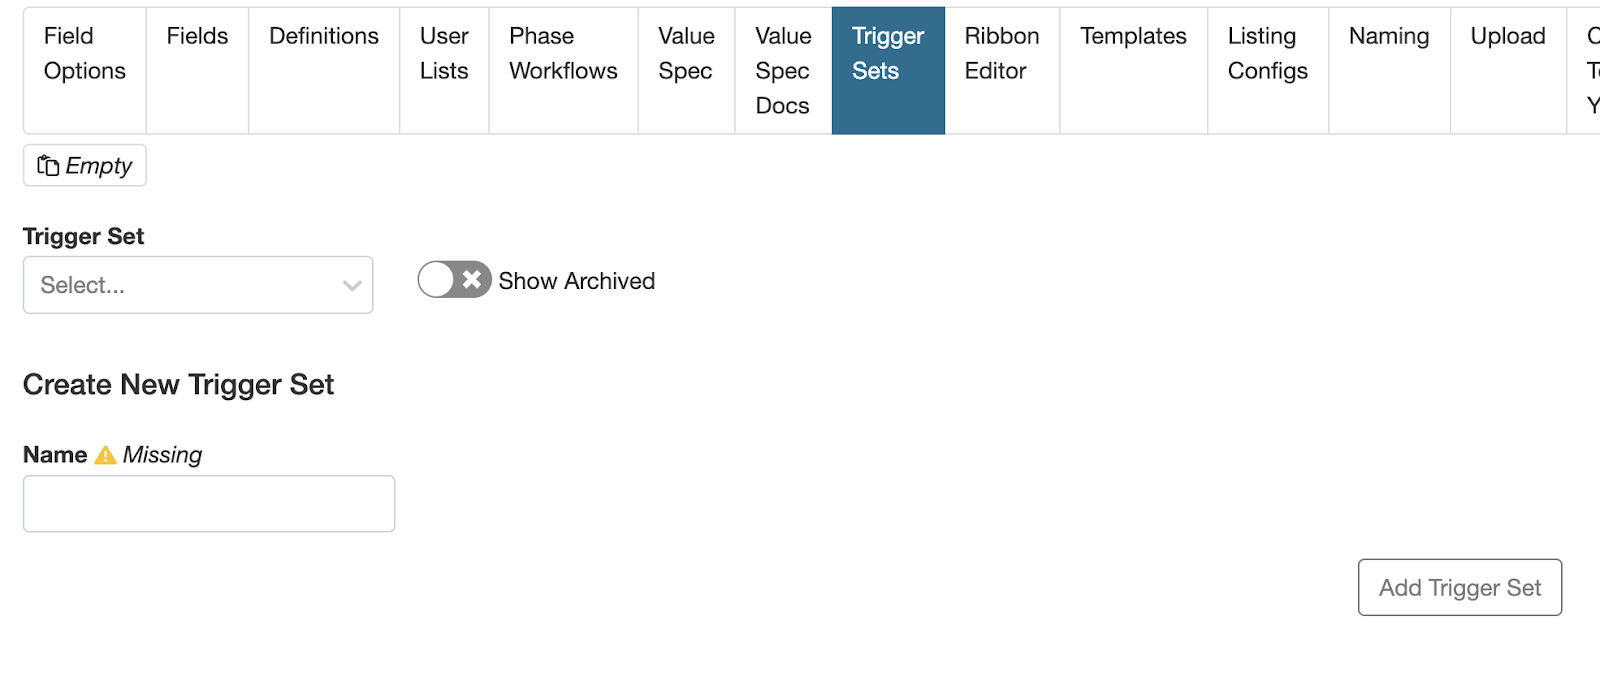
Name the Trigger Set and click (4) Add Trigger Set. The following window will appear, click the button (5) + Add Trigger, and follow steps in the Actions section.
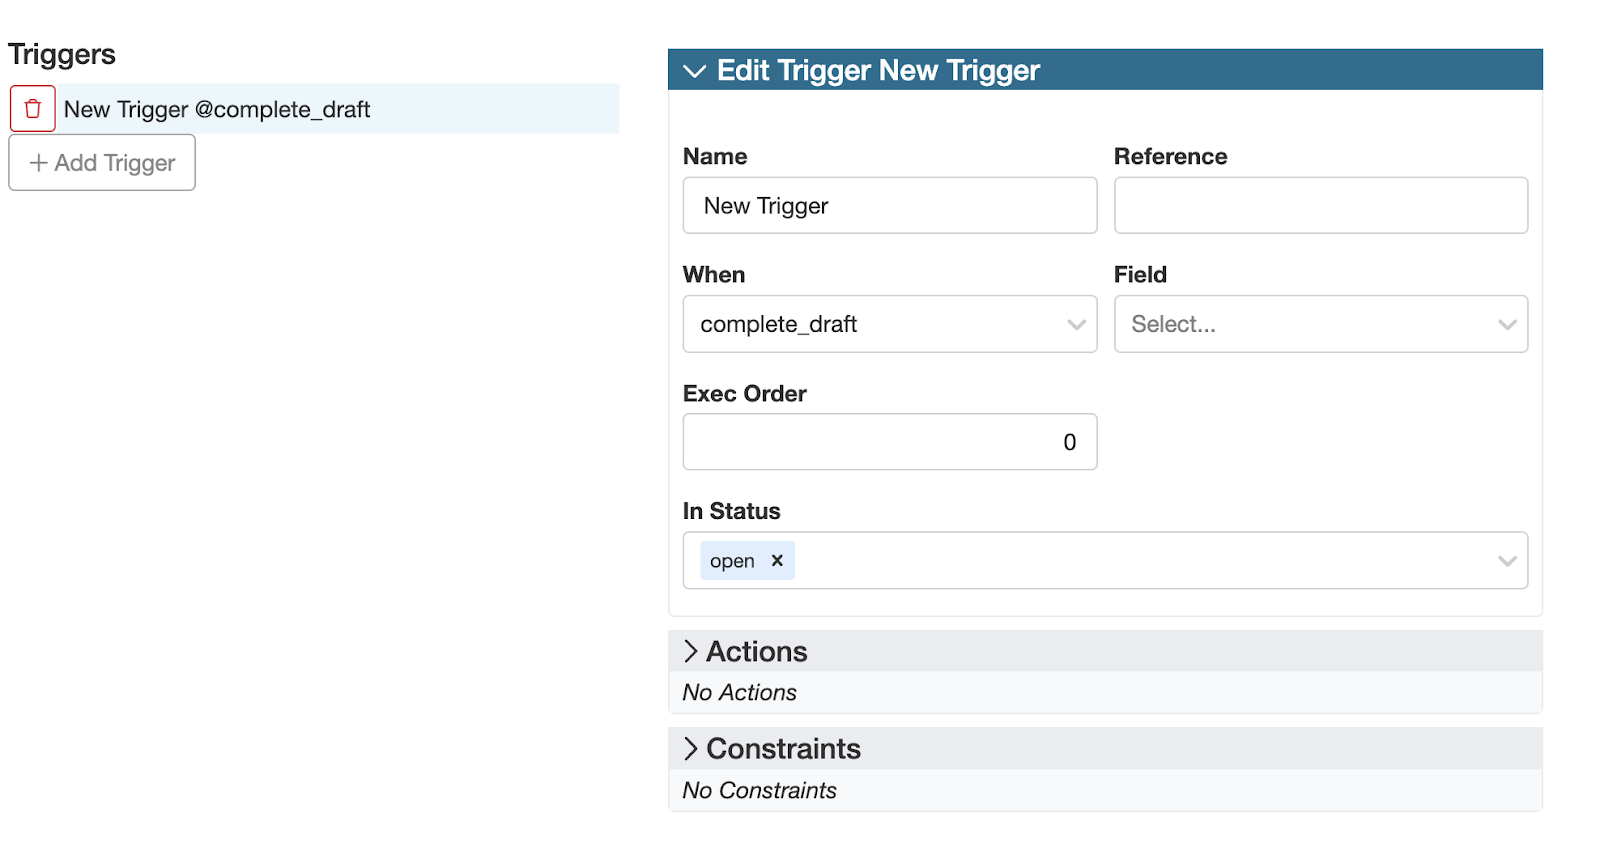
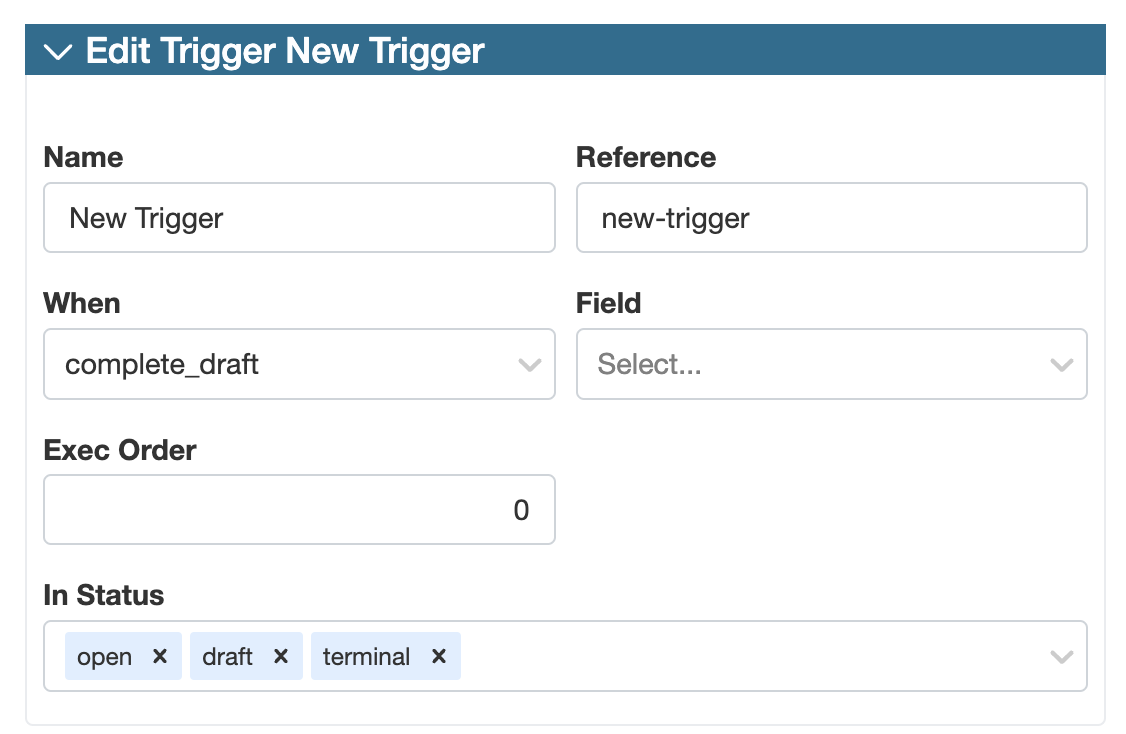
Edit Trigger Section
In this section, fill in the (1) Reference field with a reference name to the trigger. The (2) When field will default to complete_draft but can be changed to multiple options such as create_field, modify_field, etc.. In this example, complete_draft will execute the/send the email when the request is submitted (when the draft is complete).
Add all three options (open, draft, terminal) in (3) In Status.
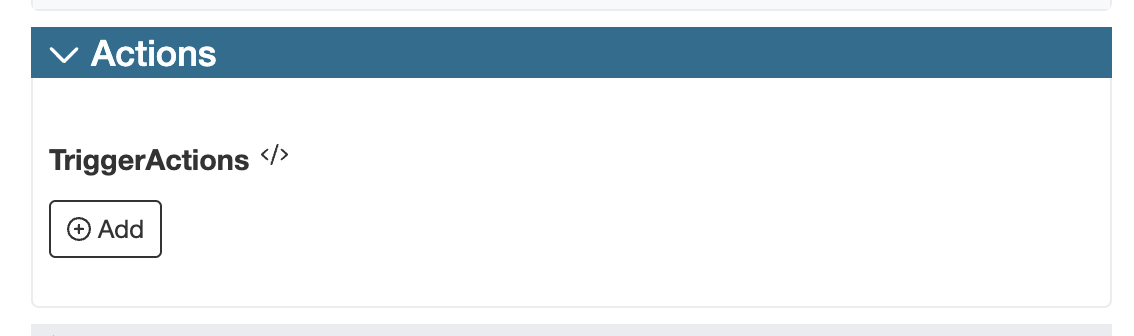
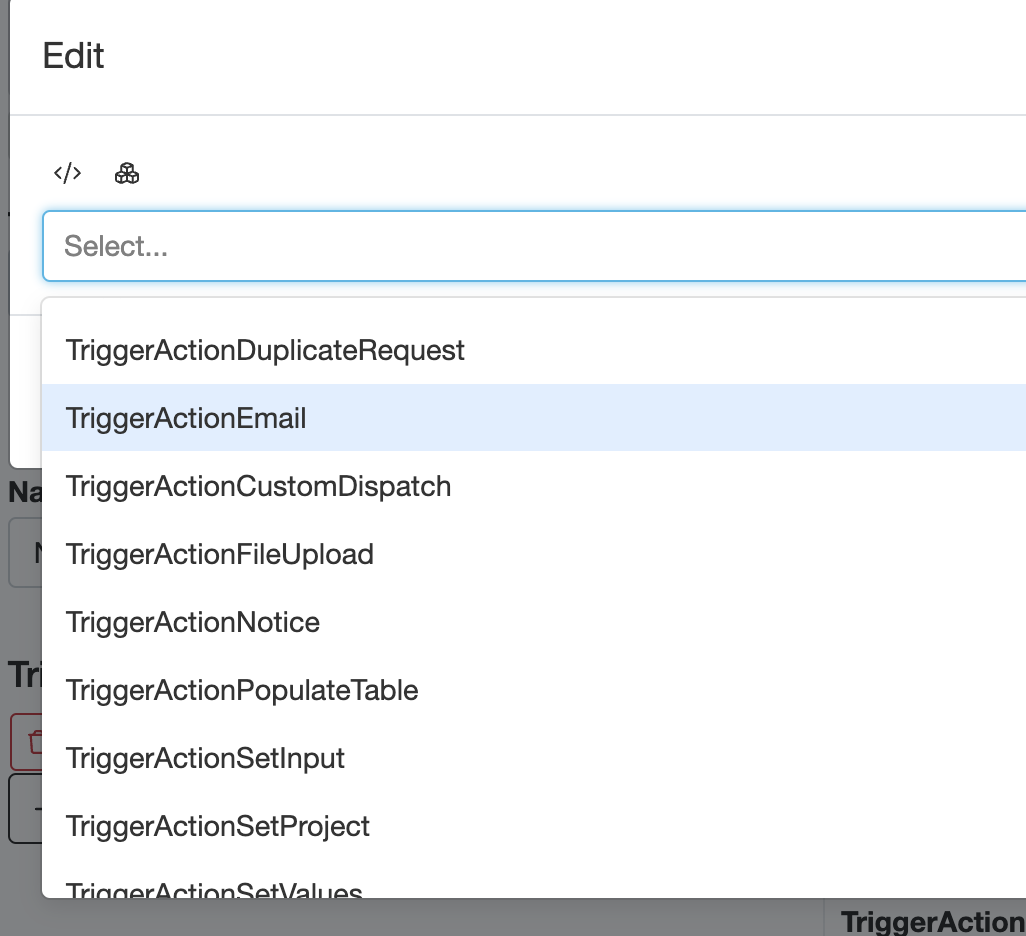
Actions Section
The actions section is where the email template is referenced. Click on the button (4) + Add and select (5) TriggerActionEmail
Next, in the (6) template field, add the name of the template that is to be used. Then toggle on the (7) to button to specify to whom the email/notification will be sent to.
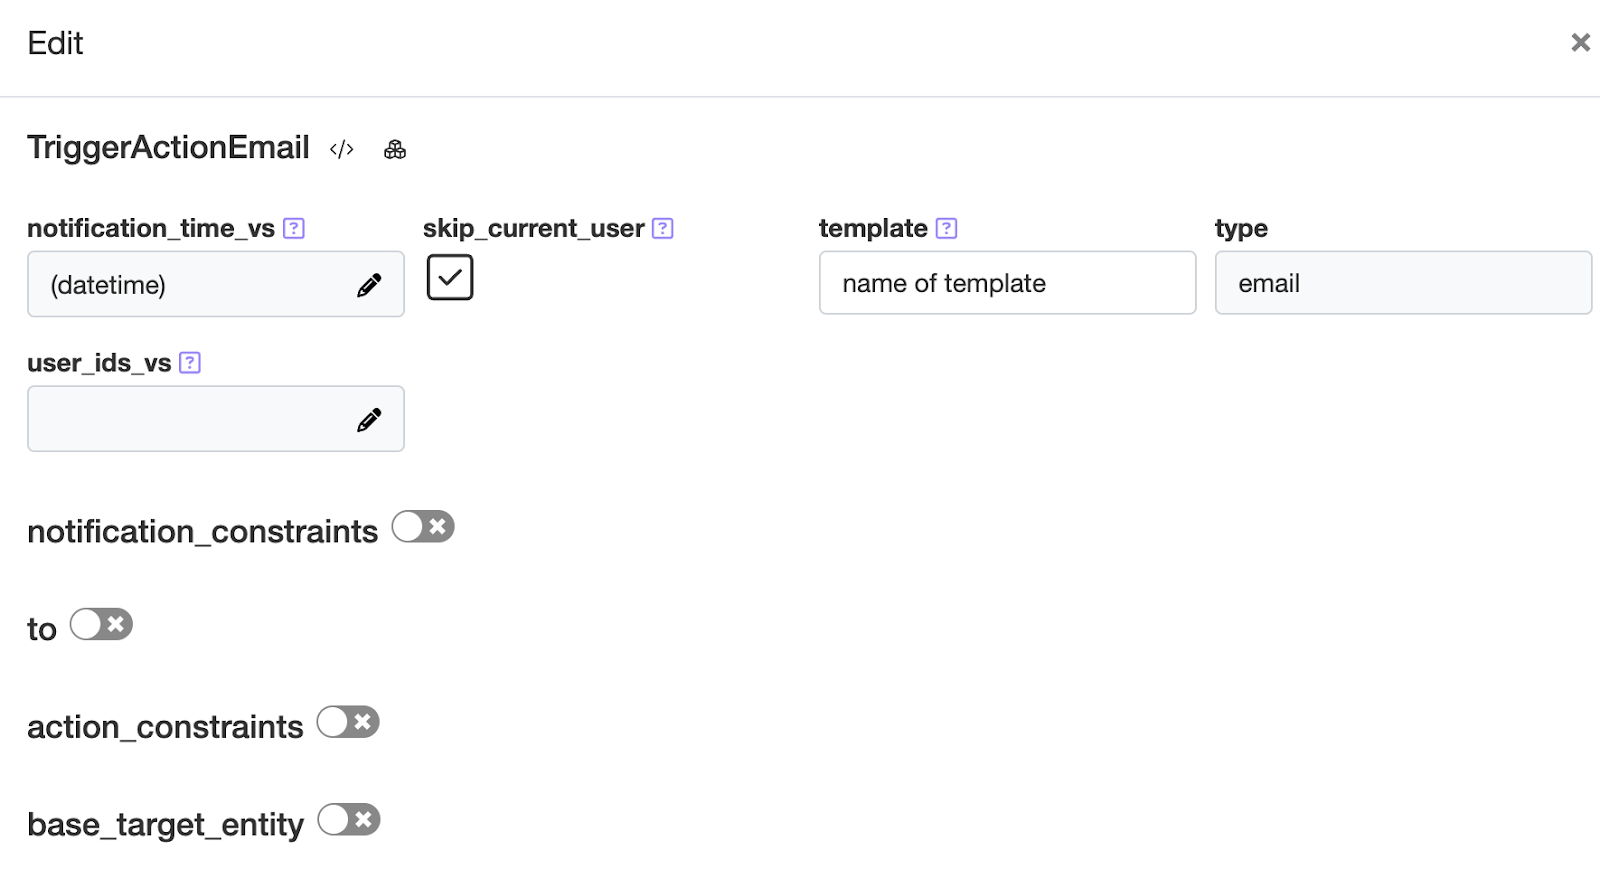
Click on the button (8) + Add and a blank box will appear (9).
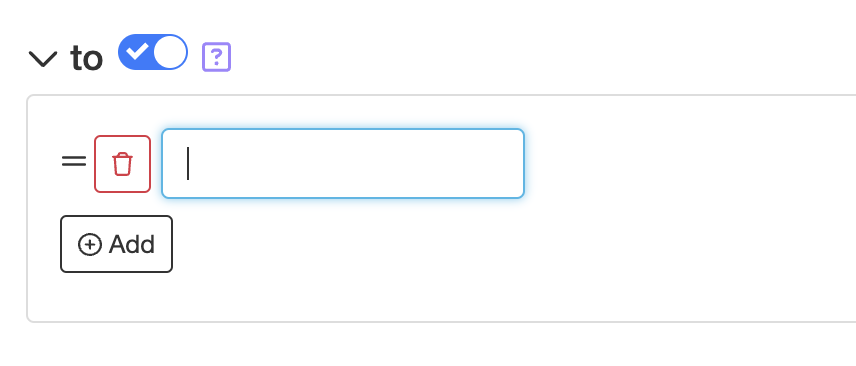

In (9) the empty text box, specify the user list of interest by adding “user_list:” and then the reference name of the user list (e.g. “user_list:analytical_team).
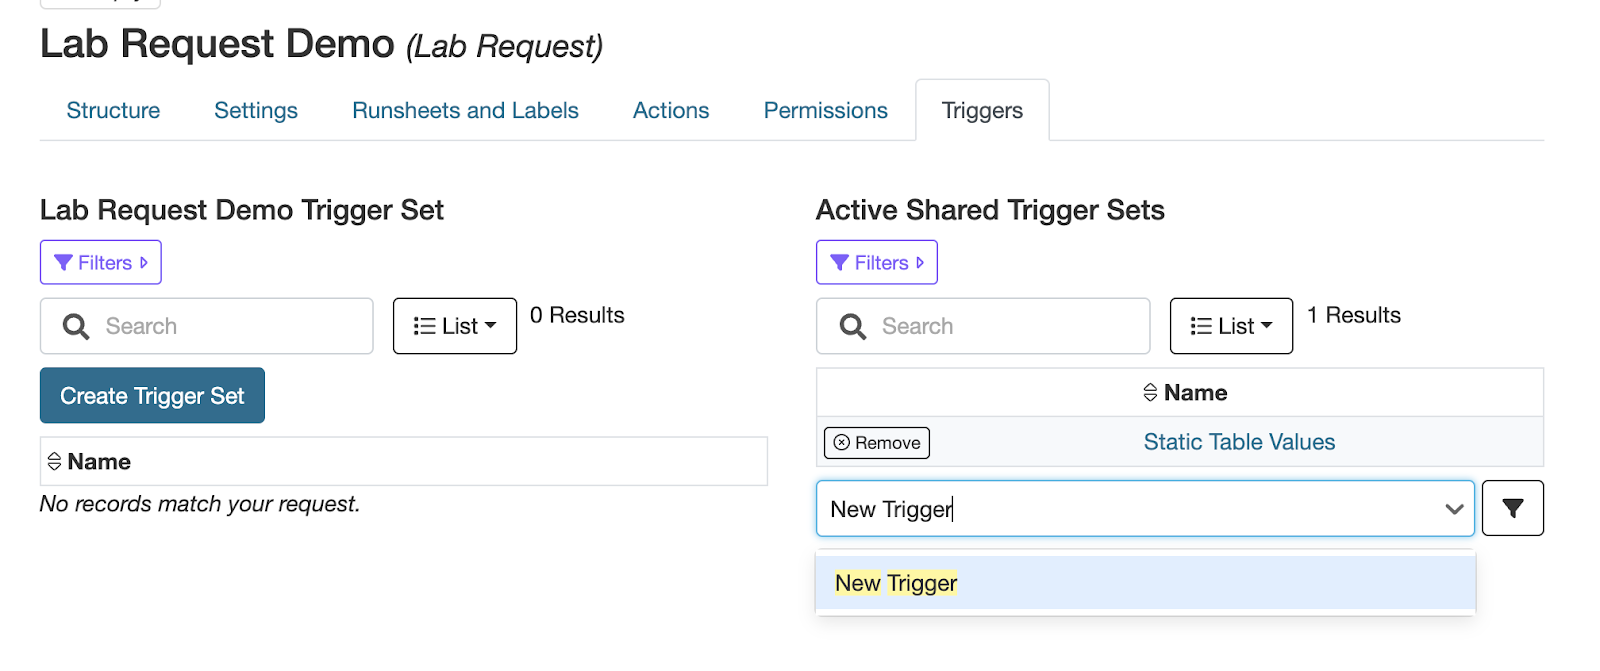
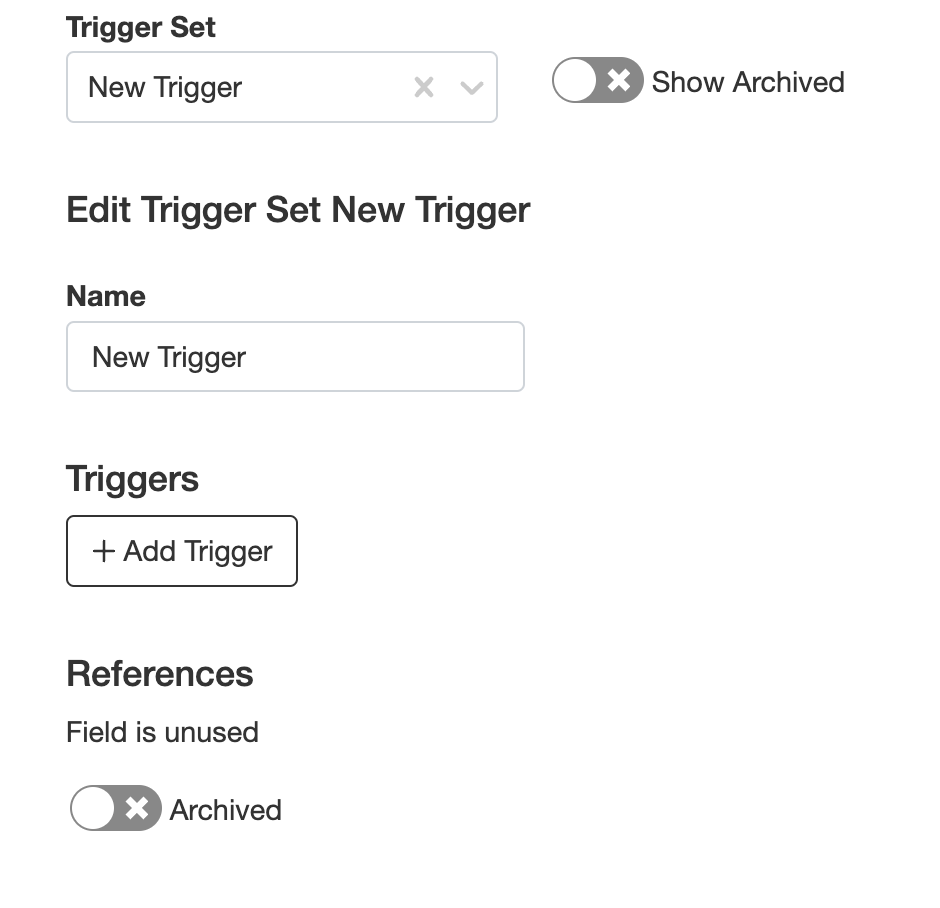
Linking to Definition
To add the trigger set to a definition, find the definition of interest, select the (1) Triggers tab and add the desired trigger as shown below from the (2) dropdown.