Uncountable’s platform allows users to compare ingredients through the ingredients plot which is especially useful in seeing how various ingredients affect specific properties within a given material group. After entering in all of their desired data, users can generate an ingredient plot which tracks the constituent properties of various ingredients. For example, ingredients can be organized based on their main component, output, or any other feature.
To access the ingredients plot function, select the Visualize button at the top of the Dashboard, navigate to More Visualizations, and locate the View Ingredients Plot option in the last row.
Entering data
After entering the Ingredients Plot interface, a user will see a series of four dropdown menus, which will allow them to select which kinds of data are displayed in the visualization.

The Select X Axis dropdown (1) allows the user to choose which ingredient property is displayed along the x-axis. In general, users generate better visualizations if the selected property is shared across multiple ingredients. In the example below, “mass (kg)” was chosen for the x-axis unit.
The Select Y Axis dropdown (2) allows the user to choose which ingredient will populate the y-axis of the visualization. Again, users generally generate better visualizations if the selected property is shared across multiple ingredients. In the example above, Solids % was chosen for the y-axis unit.
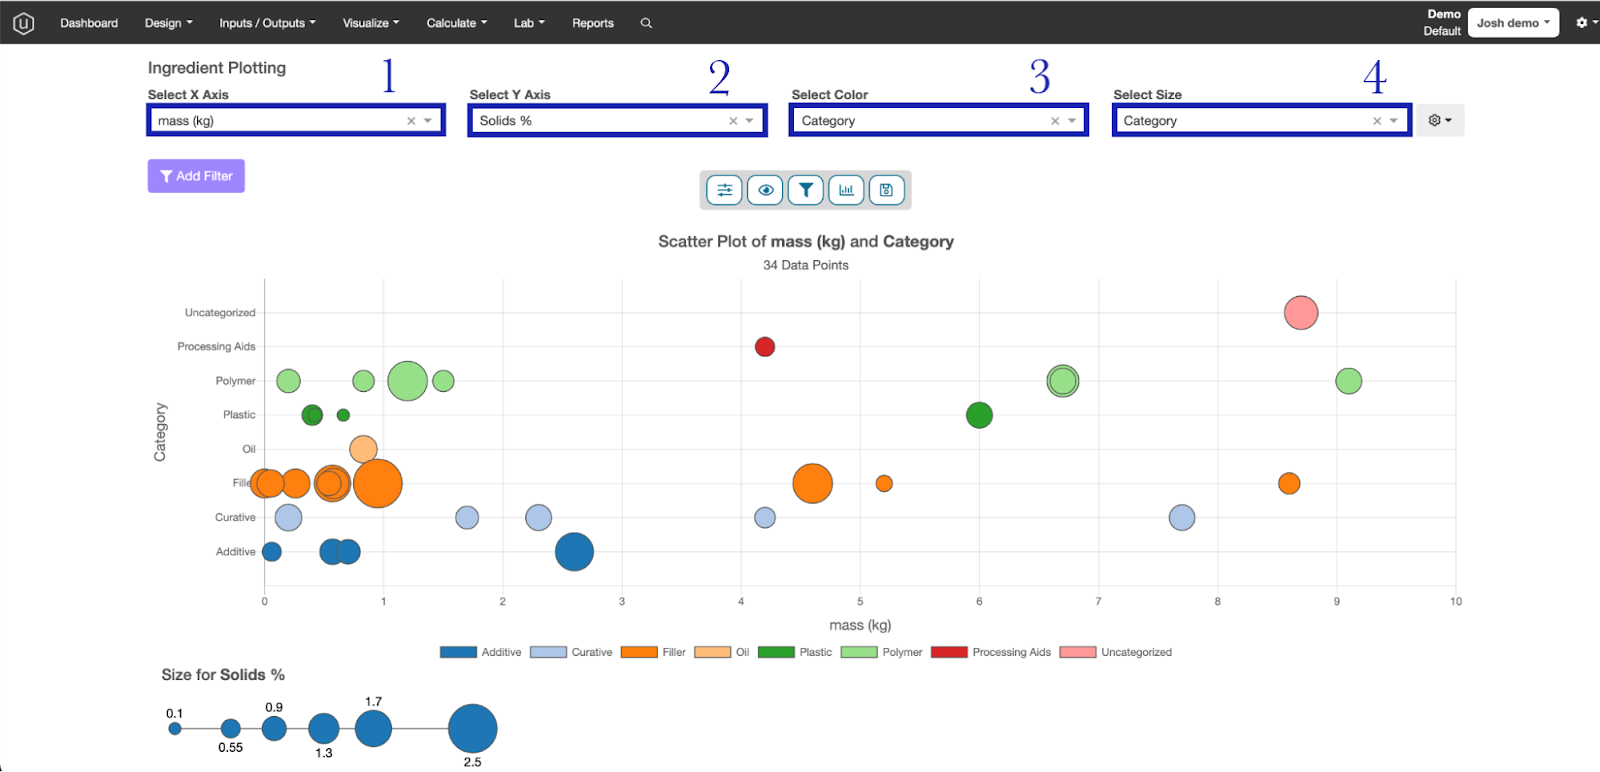
The Select Color dropdown (3) allows users to choose which properties are color-coded together. In this way, users can easily see trends and correlations between various ingredient types.
The Select Size dropdown (4) allows users to select the relative size of each data point to allow users to easily see relationships between them.
Reading the visualization
Below the visualization, there is a color-matched sizing key which displays the various sizes of ingredients displayed in the visualization.
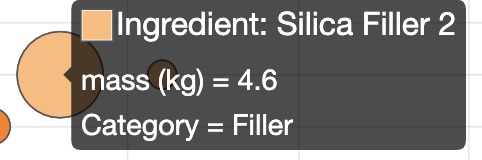
By scrolling over any given ingredient, a user will call up a modal box which displays basic information about that ingredient, namely the properties selected at the top of the screen. By clicking on that ingredient, users will be brought to an ingredient information page which stores further data pertaining to the selected ingredient.
Users can enter notes or alter an ingredient’s metadata and attributes. Under the metadata fields, users can adjust the ingredient’s identifying category and subcategory.
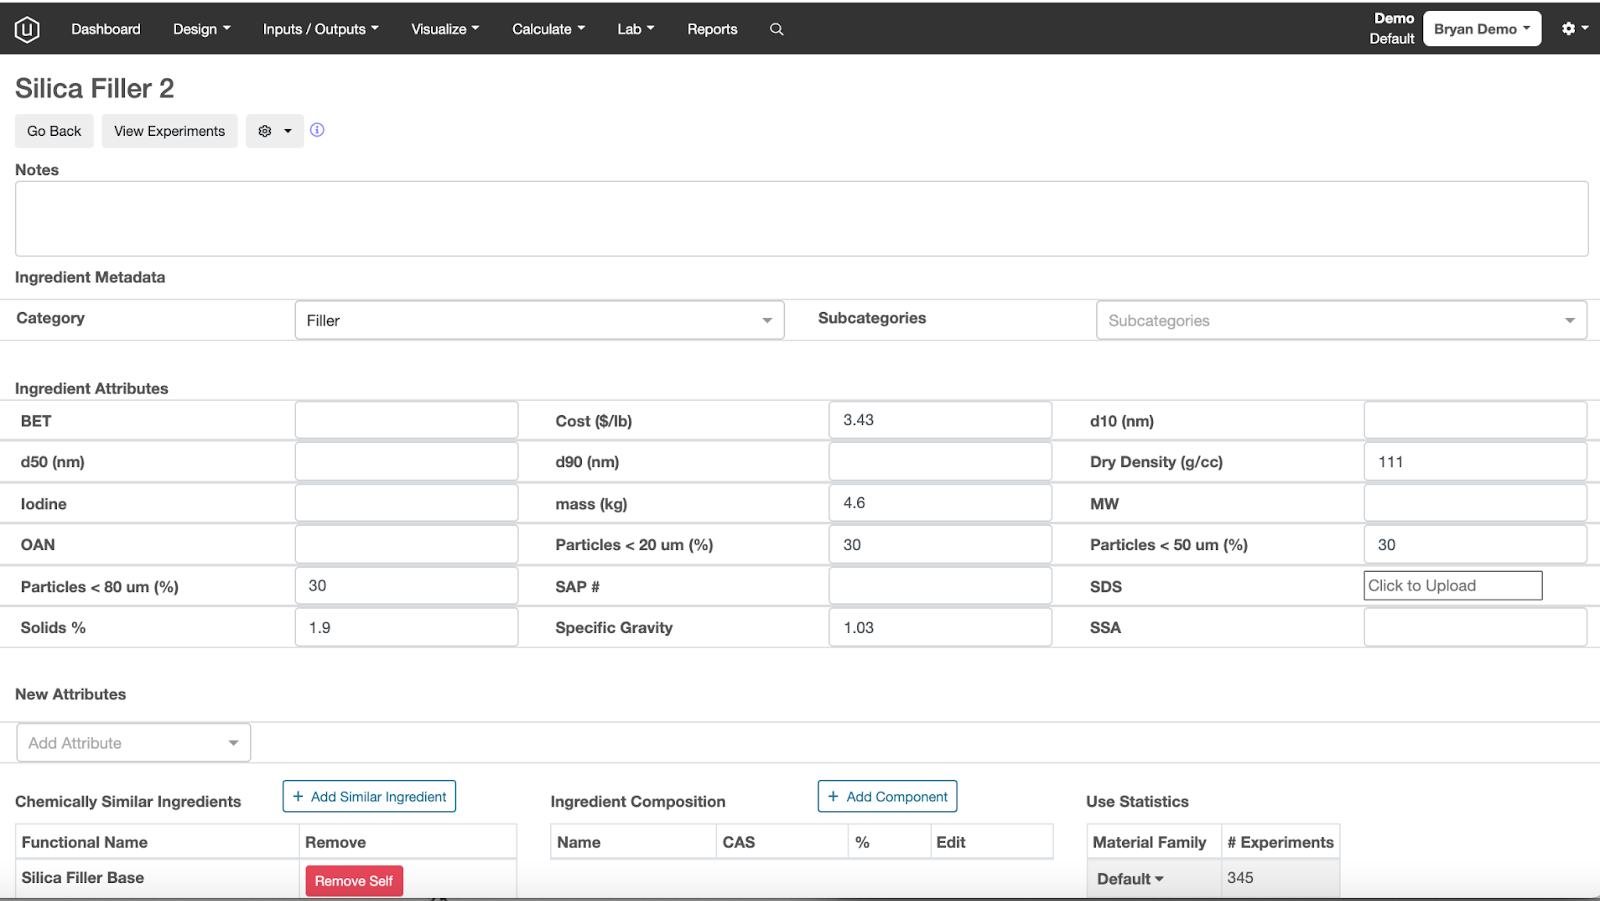
Within the attributes fields, a user can edit an ingredient’s gravity, solid %, mass (kg), particles <50um (%), particles <20um (%), particles <80um (%), cost ($/lb), dry density (g/cc), molecular weight, SAP#, SDS, surface area, or add a new attribute using the dropdown menu.
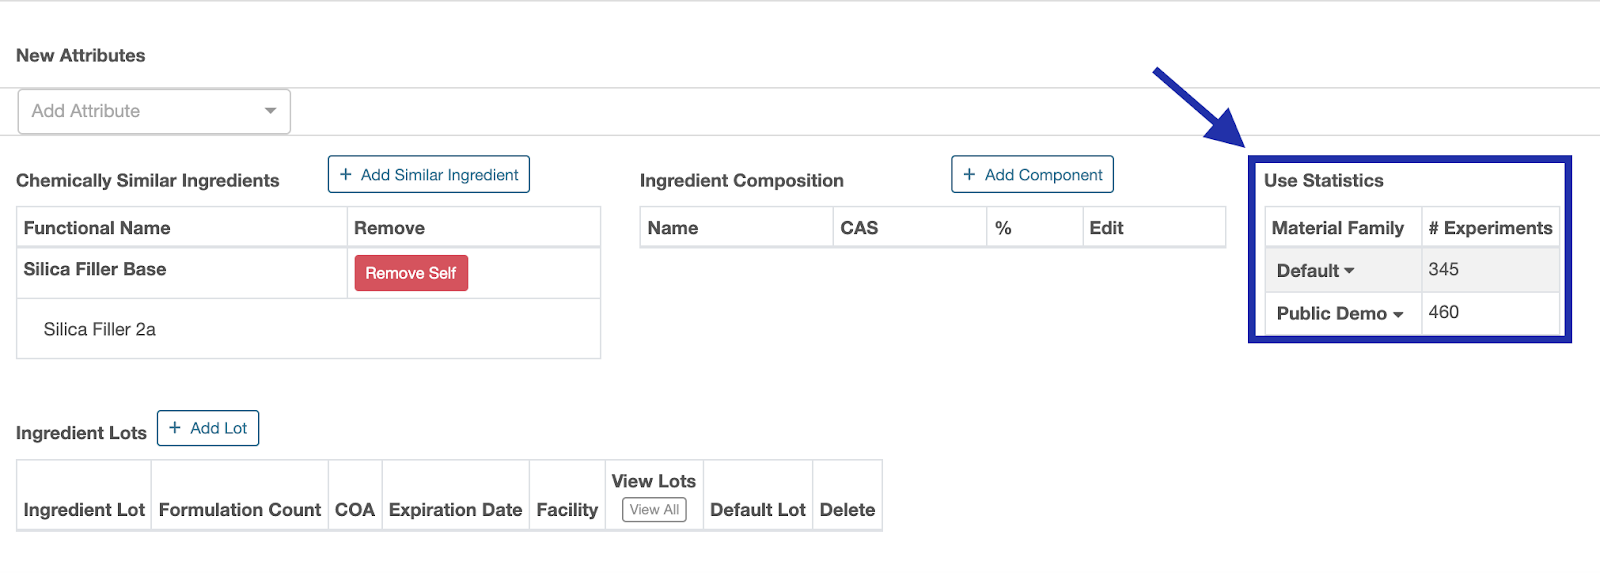
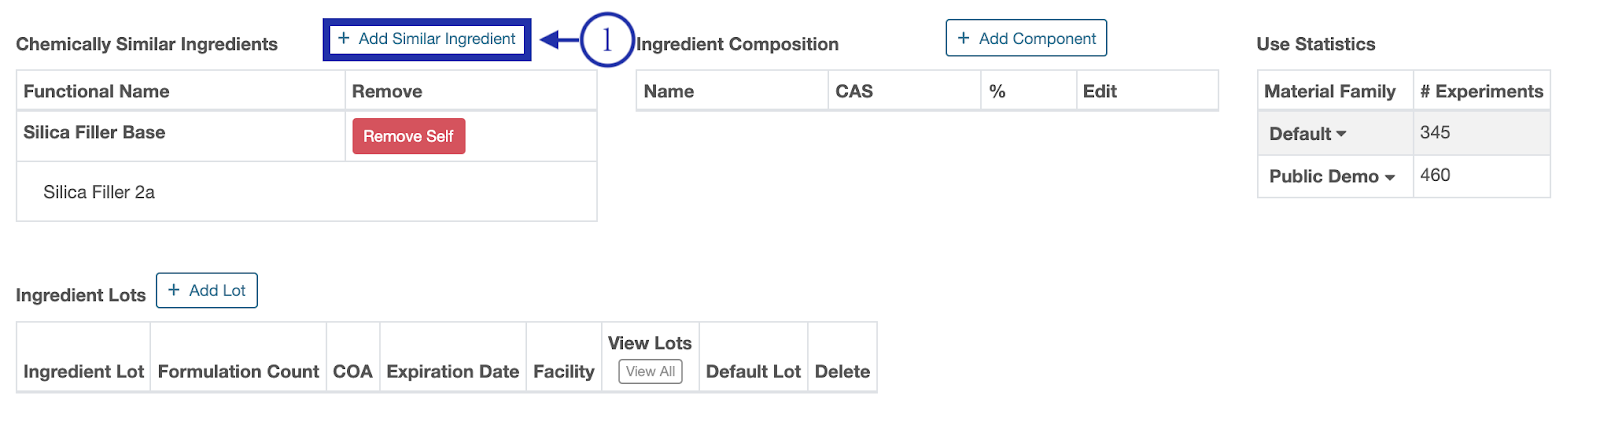
Below the main table, there are several smaller tables which allow users to append chemically similar ingredients, ingredient composition, and ingredient lots to the page. Users will be able to view any items previously added to these tables, or see their own additions as soon as they are made.
By clicking on the +Add Similar Ingredients button, a user can call up a modal dialog box which will prompt them to enter in the name of the similar ingredient and its functional group. After clicking on the green Add Similar Ingredient button, the similar ingredient will be displayed on the relevant table at the bottom of the screen.
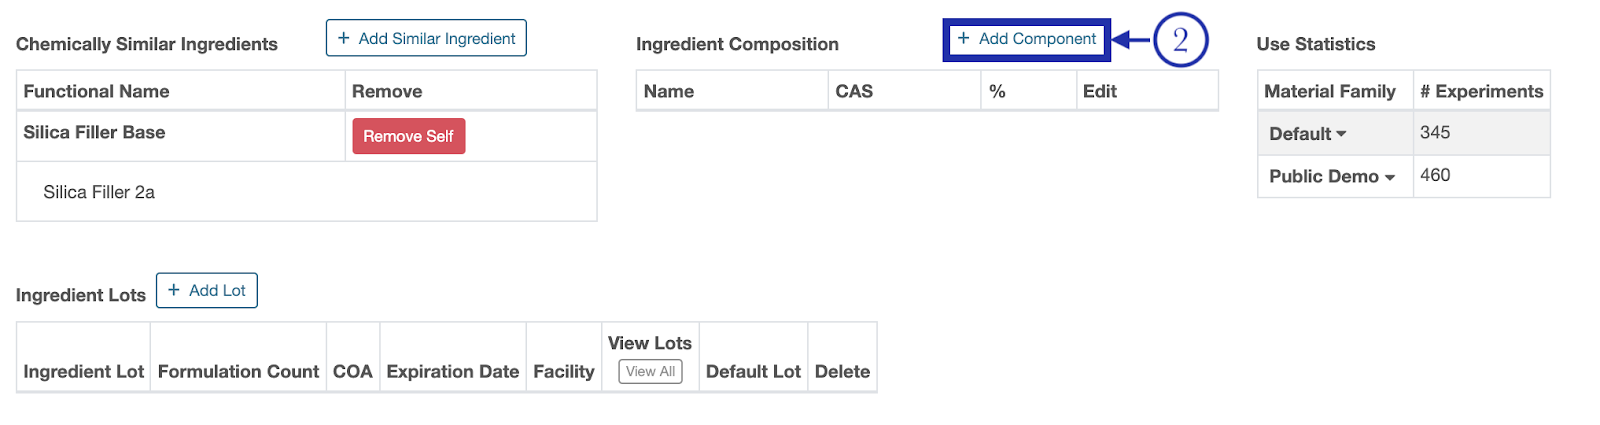
By clicking on the +Add Component button, a user can call up a modal dialog box which will prompt them to enter in the ingredient component, % (lower bound), and % (upper bound). If the desired ingredient component does not exist, a user can select New Component from the dropdown menu to generate a new entry. If selected, the modal dialog box will shift to include several new fields, including name and CAS as well as % (lower bound) and % (upper bound).
By clicking on the +Add Lot button, a user can call up a modal dialog box which will prompt them to enter in information pertinent to the lot.
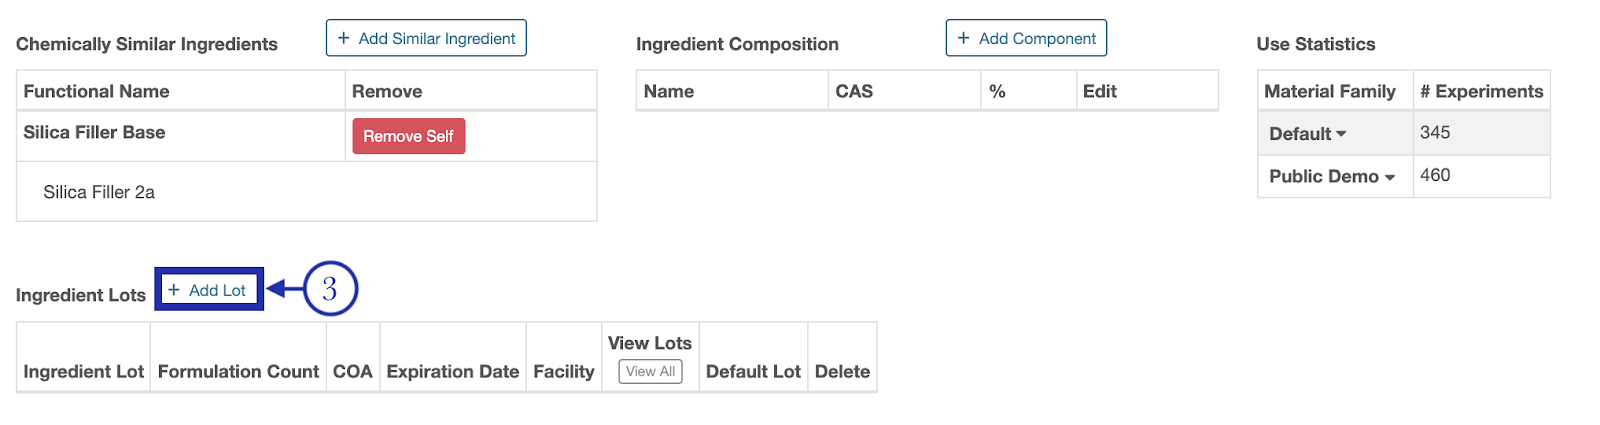
There are two tabs which contain fields to be filled in: New Lot Details and Use Recipe as Lot.
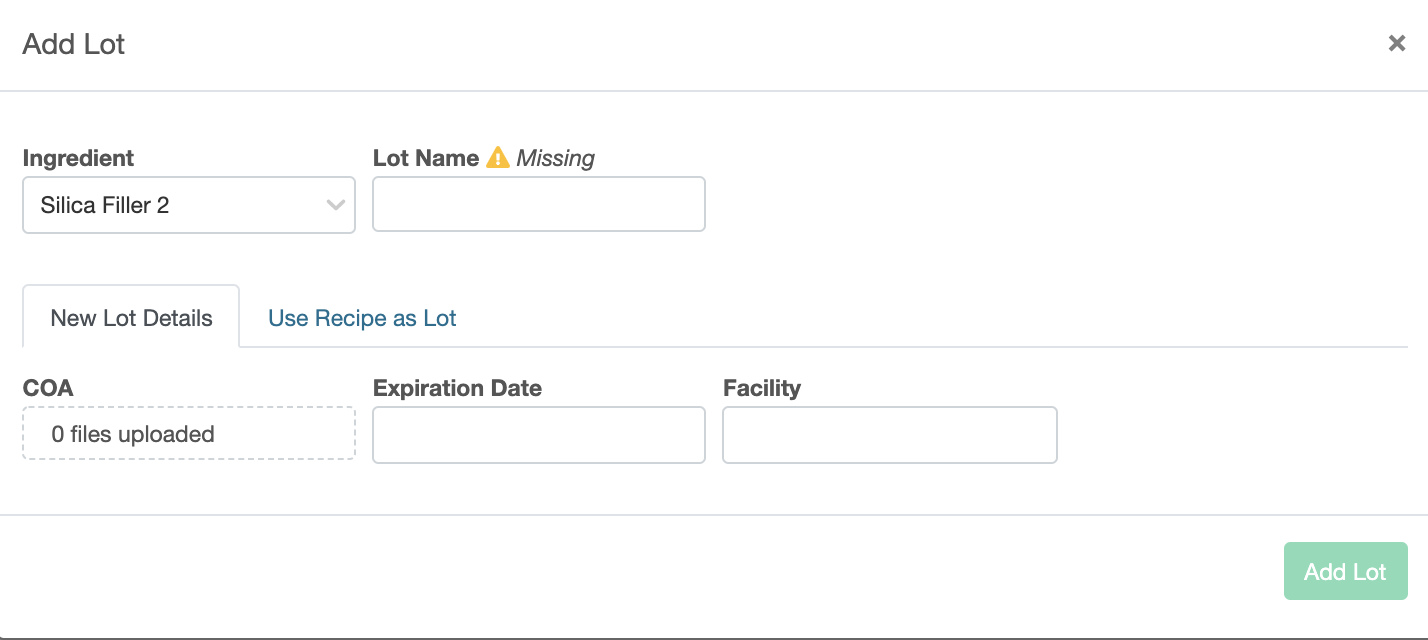
Within the New Lot Details tab, a user will first enter in the ingredient to be placed within the lot, along with a name for the new lot. They will then enter in the batch number, date supplied, expiration date, facility, manufacturer, PSD, product number, supplier, and temperature.
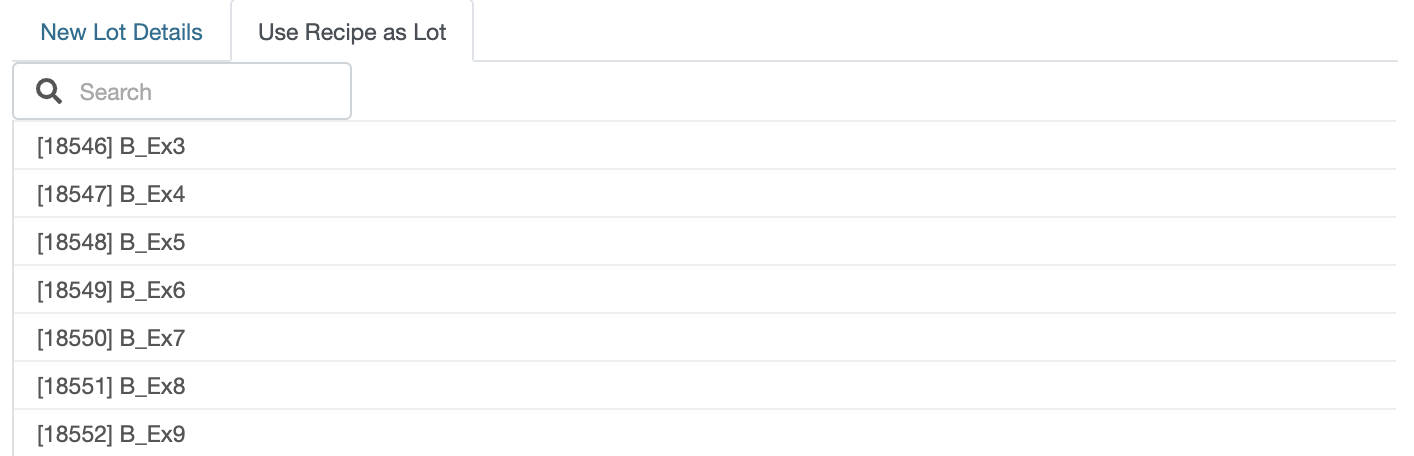
Under the Use Recipe as Lot tab, a user can use the search bar to call up andl select the specific recipe to be used as a lot.
Additionally, there is a table to the bottom right-hand side of the page which displays the ingredient’s Use Statistics, including its Material Family and # of Experiments. By clicking on the Default or Public Demo columns, users will be able to navigate to their respective material families.